Friday, August 24, 2012

Rugs

It occurred to me that I never updated about the new rugs we bought earlier in the year. As you know, we have a long room that is our living and dining room. I divide the space using a chair and the rug centers the couch/living space. For so long I've used a 5x7 until one day I was looking at pictures and thought "why do we have a teeny tiny rug in this huge space?"  Suddenly I realized it looked so small and wrong! Was I blind before?

Anyway, we had a $500 budget for an 8x10 rug. I knew I was going to have to be creative on this one. All the big box stores had patterns that didn't really match our colors. Or they were too contemporary in design for me to like long term. The designer stores were too expensive. I finally found (thanks to my friend Cecelia) a discount shop in West Columbia (Doug's Rugs). Low and behold! They had what I needed for under my budget.

So home I came with two babies, a double stroller and two 8x10 rugs. Wish I had taken time to actually snap a shot of my car. A little comical to say the least. Here are close-ups of the patterns. Both had more traditional feel since that's what I currently have throughout my house, and both had the pumpkin orange/rust colors. And of course the most important, a heavy pattern so dog hair and juice spills or other toddler stains wouldn't be easily seen.


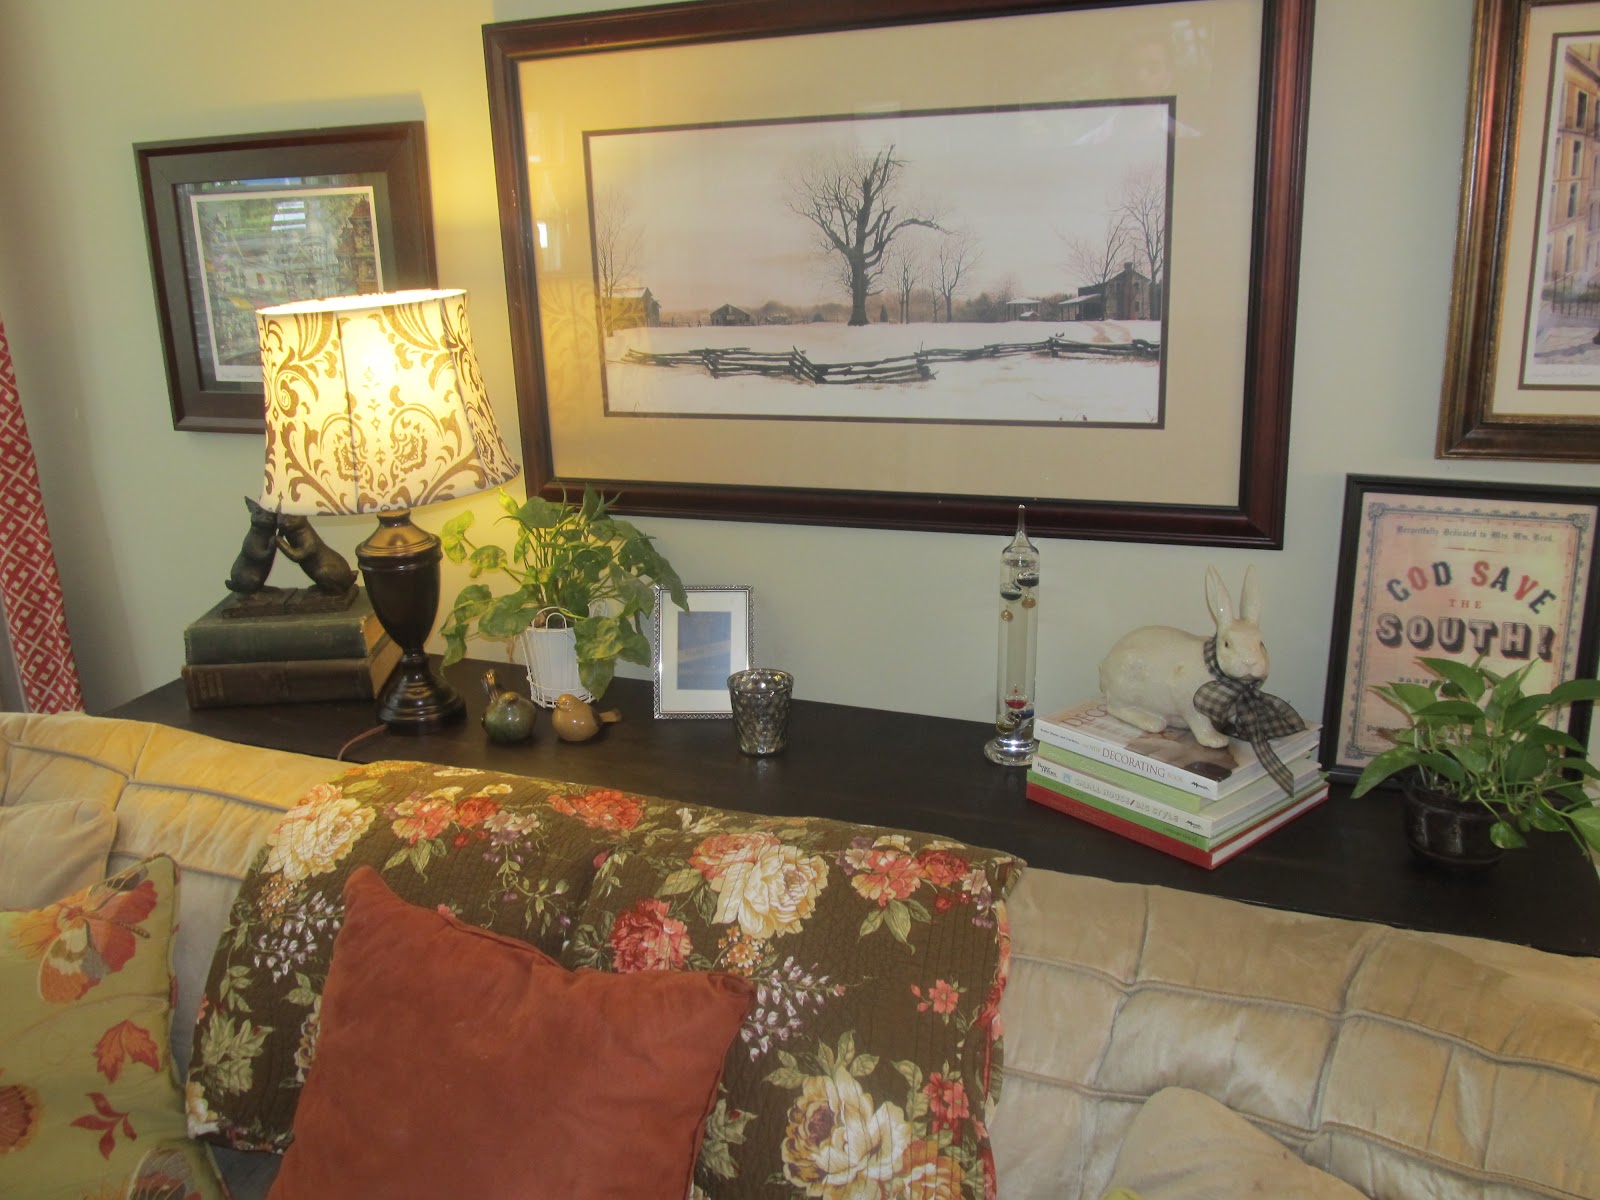
Here is a before of the living room...


And here's the after.


So much better! Now the space looks better grounded and in proportion. We went with the lighter rug in the living room since once we saw it in the natural light, it looked lighter and better with our current furniture.

What to do with the other rug? Return it? That would have been the financially responsible thing to do. But since it was still just a smidge over my total budget, I decided to try it in the back multi-purpose room (AKA man room/office/guest room).

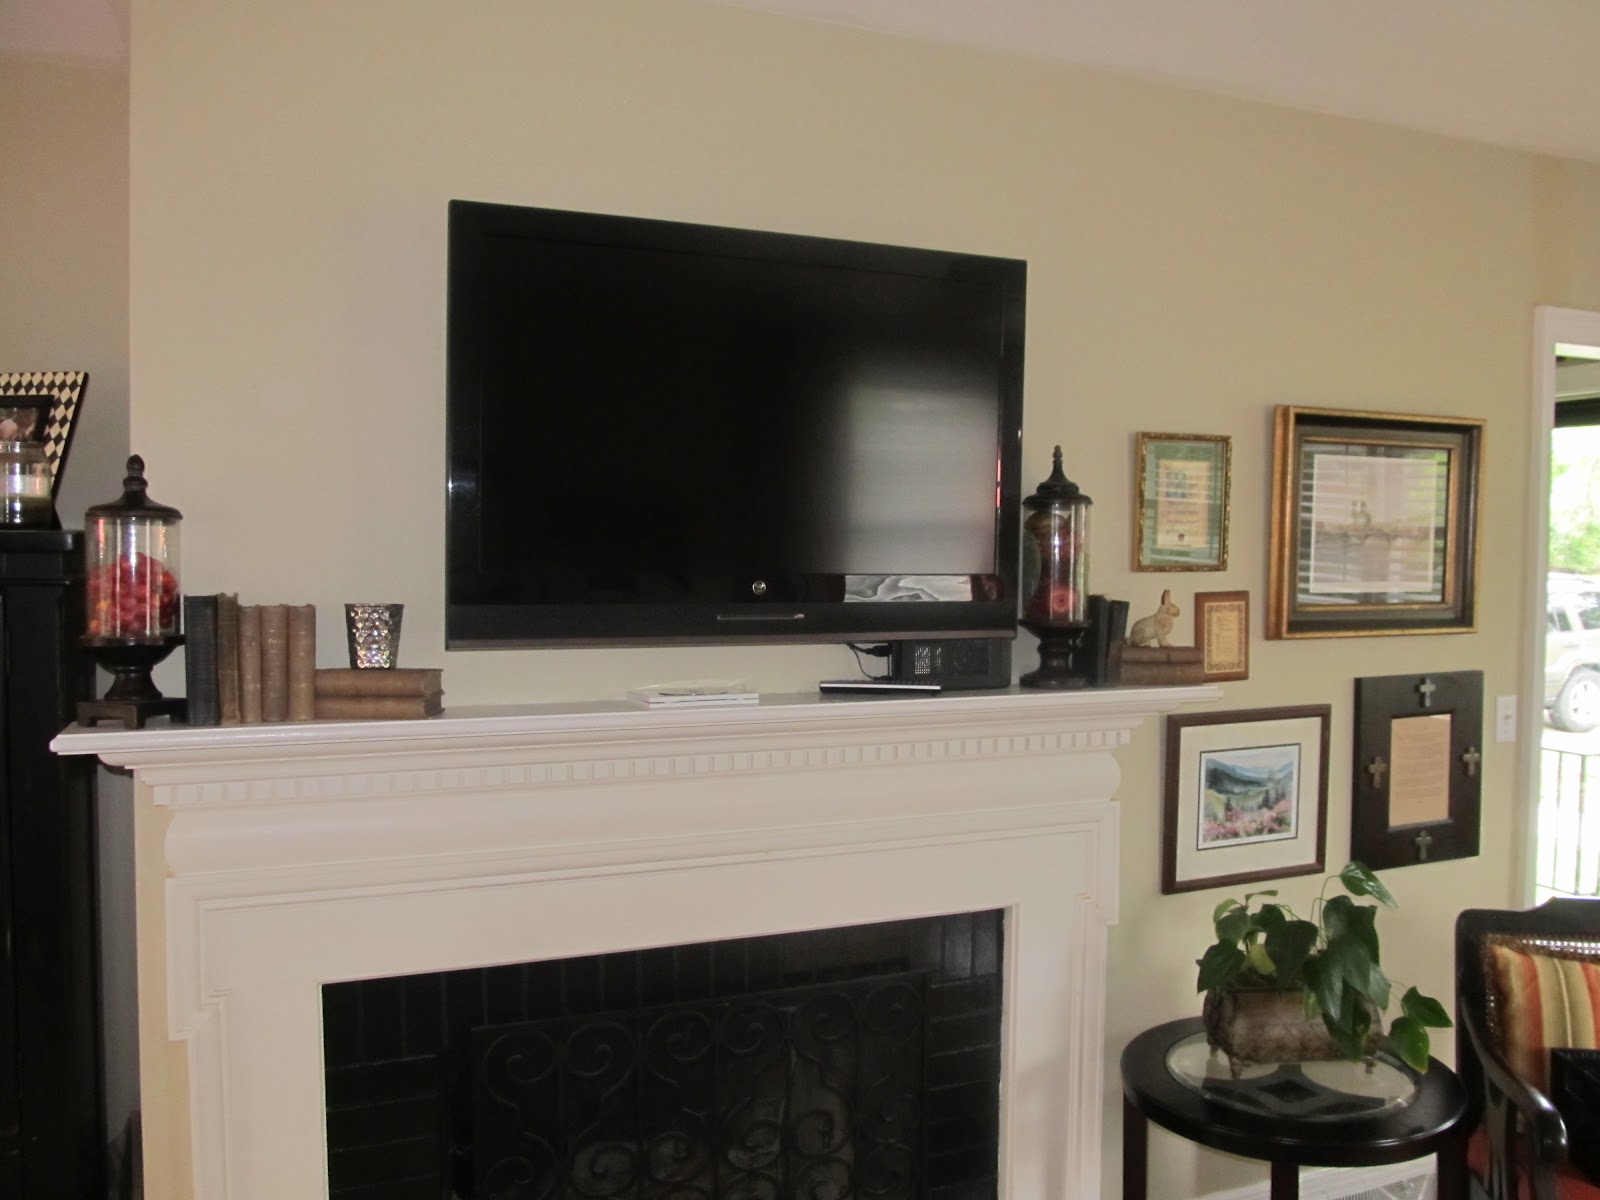
Before...a tiny island of a rug.


And after...what feels like a larger room!


So if I have to offer any advice:
  • always add rugs to hardwood floors - it softens the room
  • consider adding rugs over carpet if you need an anchor for the room
  • ALWAYS look at scale. You can see how much difference a larger rug made in our space.
Anyone else bought a rug way too small? Any other good sources for rugs in SC you want to share?

Thursday, August 23, 2012

It's the simple things that make a huge difference

Well as I was creating a new faux console table, I decided I was bored with all my tables in the living room. Plus I had to now find a place for the old sofa table, preferably not in the shed where Daniel would have a conniption fit.

And when did I decide to do said project? Oh, Friday just before I had company coming to spend the weekend and when I had a ton of work reports due. Because you know, that's smart (not.) I work well under pressure. Game on.

By noon, every table and every accent item was somewhere in the middle of the living room. I dared not stop to take a picture since I was on a massive time constraint. At one point I wanted to breakdown in to the ugly cry but I had to shake it off and focus.

I ended up moving my office side table to the living room. As you can see, before we had a chair and the toy box (hidden in this picture) in that corner. No table.


And now...much cozier! I can't believe how well my printer table (from Hobby Lobby) looks in that corner.


And where did said toy box go? In the kid's room. As you can see from this post, I had a red metal tin to store toys in their room but it was still a little junky looking sitting right at the door. Plus I decided that they really didn't need the majority of their toys in the living room. It's not like they have to go far, it's a small house!


So that left the old sofa table to put somewhere. It was meant to be. It fits perfectly in my office space in our multi-purpose room. I now have even more room to put office-y things but still hidden and out of the way.

Now back to the fun part, sprucing up all those tables. I basically took everything down and started over, lamps included. Sort've like you do when you have to take down Christmas decorations and put your regular stuff back out. Then slowly, I started putting one item up at a time. The armoire now houses more pictures...


The sofa table has a new lamp (from the office) and other fun items...


As you may notice, it reached beyond the table tops and expanded to the walls. Now that we had a longer table, I could create a better gallery wall. It took moving only a few pieces around to make it fresh again.  The framed S is actually the S that was on my mantel that I put an old gold frame around. No glass, just a frame I picked up some where along the way that's been sitting in a closet.


Here it is from a slightly different angle.


The gallery wall, the longer sofa table and the reworked table tops all make it feel much cosier now. I did find a cute basket at Target that gives us a place to store a few toys in the living room. Since Cole isn't walking yet, it's easy to reach over and grab a few toys locally when I put him down to whine play.


I do have one dilemma. What to do with my mantel. I will never place a mantel above my fireplace again. I was duped persuaded by my husband this time but not again. Anyone have any suggestions? It's not easy finding pictures of a mantel decorated with a TV in the design books. I moved a few things around but it's still missing something.


So there it is. One faux table behind the sofa ended up inspiring a completely new feel for the living room. Now I am in love with the space once more. And the kids seem to like having the toy box in their room and I have extra desk space in my office nook. Now that's what I call a win-win-win.

OK your turn. What do I do with my mantel if taking the TV down is not an option?

Wednesday, August 22, 2012

Faux Sure

For a very long time now...maybe a year at least...I've wanted a true sofa table that spanned the length of my couch. Yes. I'm aware that sofa tables are not meant to do that because they usually go in an open area where they are seen. Well mine is behind my couch against a wall so I really wanted it more for table space than looks. I fancied the idea (after searching high and low on the Internet for an 80in skinny table) of making my own (like they did) but...
  1. I don't have time
  2. I don't have the energy right now
  3. I only have a circular saw and I was pretty sure I needed a table saw for cutting the correct angles for a table

So I've just dealt with the space for said time. But I finally had enough. The area just got junkier and junkier as the cords, boxes, dog crate, etc piled up "behind the couch".


It's hard to tell in the picture above (probably because I was always sure to keep it hidden in pictures) but behind that couch is scary. It really is most noticeable when you first walked in and when you sat on the couch and when you sat at the dining table and when you walked in from the kitchen. OK so maybe it was really noticeable except in this picture.

I finally decided to make my own hanging shelf like I did in the kitchen. A sort've faux console table if you will. After all, no one will really know since it's hidden behind the couch anyway. And it was fairly immediate (low labor) and much cheaper.

Off to Lowe's I went to find wood. I bought a standard 16"x96" stain grade wood  ($30) and had them cut it to my size (80"). They had cheaper lumber available but since I wasn't planning on painting but rather staining, I needed a higher quality board. I could have bought a 72" standard size for much cheaper but I knew deep down I'd miss those 8" behind the couch and regret it. Next I simply stained it with the same stain from the table project and then sanded it down a bit to give it a worn look.


I decided I didn't want a slick look (i.e. polyurethane) so I checked around and bought some wax instead.


I'm not going to lie. This stuff isn't cheap ($25!) but it's well worth it. I loved how easy it went on (simply apply with some cheese cloth, let dry and buff) and how it gives it a great muted sheen like furniture you buy in store. I knew I would need some for a dresser I plan on painting (some day) too. I only had to use a small amount for this project since I only did one side.

Then came the hanging...and by this point the boys were home. Charlie was an awfully good helper (albeit slightly scared of the "momo" or drill). Don't mind me. I'm still in my workout clothes from the morning.


Using simple brackets (3 to be exact) it was simple and easy to hang.


Don't mind the unstained end. I fixed that when I realized I had forgotten to flip it over initially. Once I moved the couch back, it was fun to start decorating! Look at what a difference the longer table makes.


You can really see the length in this wider view.


And all the pretty things I can put on it now...


And now you can see how much room I have underneath and how much cleaner it looks. I am storing my scrap booking materials and all our pictures that have yet to be organized under there for now. I'm hoping it motivates me to do something with them.


And so you don't have to scroll up again, here's another before and after:

(obviously an old picture - RIP kitty Sasha)
 

While I was at it, I made some other switcharoos in the house. More to come on that tomorrow. Hint, you can see some of it in the above pictures on the walls.

Anyone else gotten creative in the world of shelving? Has anyone used Annie Sloan paint and wax before?

Thursday, August 16, 2012

a happy baby vampire

Seriously...
A) could he look any happier?
B) can he look any more like a little vampire with those upper teeth?

Can't believe Cole turned 11 months old on Wednesday! By this time in Charlie's life, I was already holding his little brother! (Notice that didn't happen again)