
- I don't have time
- I don't have the energy right now
- I only have a circular saw and I was pretty sure I needed a table saw for cutting the correct angles for a table
So I've just dealt with the space for said time. But I finally had enough. The area just got junkier and junkier as the cords, boxes, dog crate, etc piled up "behind the couch".

It's hard to tell in the picture above (probably because I was always sure to keep it hidden in pictures) but behind that couch is scary. It really is most noticeable when you first walked in and when you sat on the couch and when you sat at the dining table and when you walked in from the kitchen. OK so maybe it was really noticeable except in this picture.
I finally decided to make my own hanging shelf like I did in the kitchen. A sort've faux console table if you will. After all, no one will really know since it's hidden behind the couch anyway. And it was fairly immediate (low labor) and much cheaper.
Off to Lowe's I went to find wood. I bought a standard 16"x96" stain grade wood ($30) and had them cut it to my size (80"). They had cheaper lumber available but since I wasn't planning on painting but rather staining, I needed a higher quality board. I could have bought a 72" standard size for much cheaper but I knew deep down I'd miss those 8" behind the couch and regret it. Next I simply stained it with the same stain from the table project and then sanded it down a bit to give it a worn look.

I decided I didn't want a slick look (i.e. polyurethane) so I checked around and bought some wax instead.

I'm not going to lie. This stuff isn't cheap ($25!) but it's well worth it. I loved how easy it went on (simply apply with some cheese cloth, let dry and buff) and how it gives it a great muted sheen like furniture you buy in store. I knew I would need some for a dresser I plan on painting (some day) too. I only had to use a small amount for this project since I only did one side.
Then came the hanging...and by this point the boys were home. Charlie was an awfully good helper (albeit slightly scared of the "momo" or drill). Don't mind me. I'm still in my workout clothes from the morning.

Using simple brackets (3 to be exact) it was simple and easy to hang.

Don't mind the unstained end. I fixed that when I realized I had forgotten to flip it over initially. Once I moved the couch back, it was fun to start decorating! Look at what a difference the longer table makes.
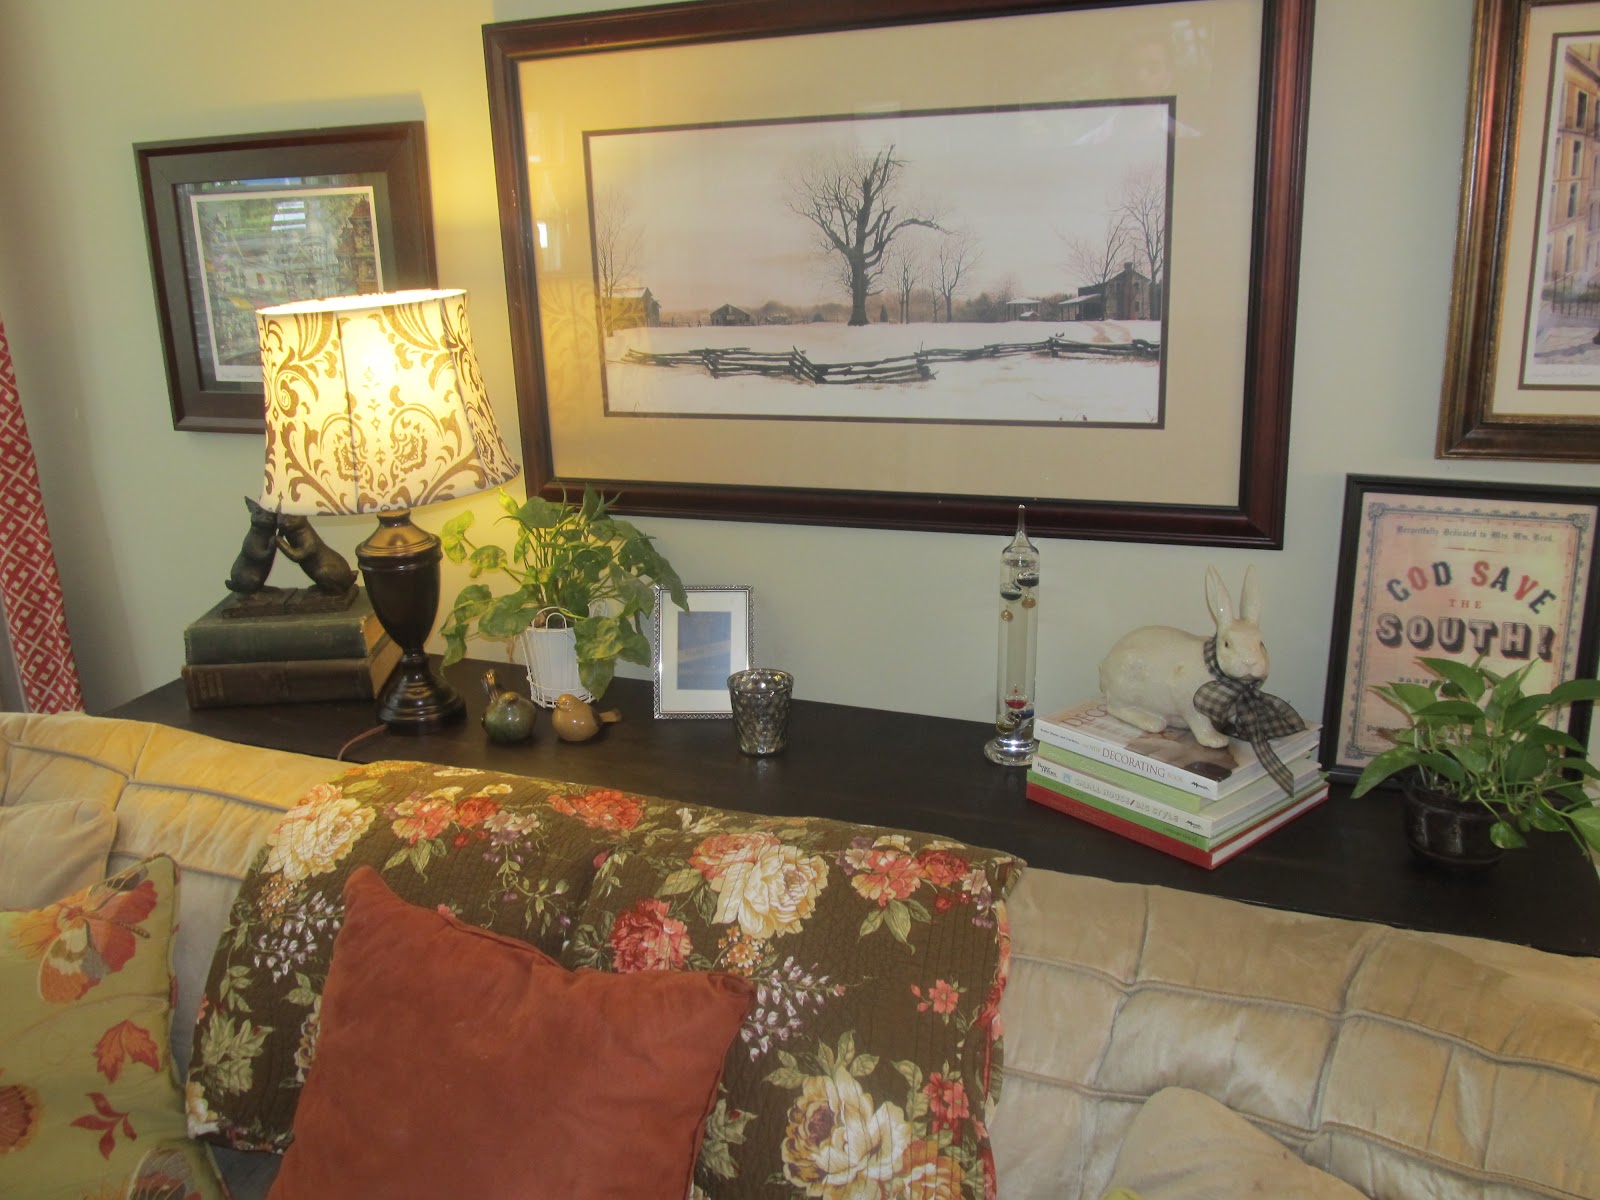
You can really see the length in this wider view.

And all the pretty things I can put on it now...


And now you can see how much room I have underneath and how much cleaner it looks. I am storing my scrap booking materials and all our pictures that have yet to be organized under there for now. I'm hoping it motivates me to do something with them.


And so you don't have to scroll up again, here's another before and after:
 |
| (obviously an old picture - RIP kitty Sasha) |
While I was at it, I made some other switcharoos in the house. More to come on that tomorrow. Hint, you can see some of it in the above pictures on the walls.
Anyone else gotten creative in the world of shelving? Has anyone used Annie Sloan paint and wax before?
No comments:
Post a Comment