
I've managed to fit most of my things in my new closet but it was just not efficient. And you know me, I live on efficiency and organization in a small house. I just couldn't take THIS anymore:
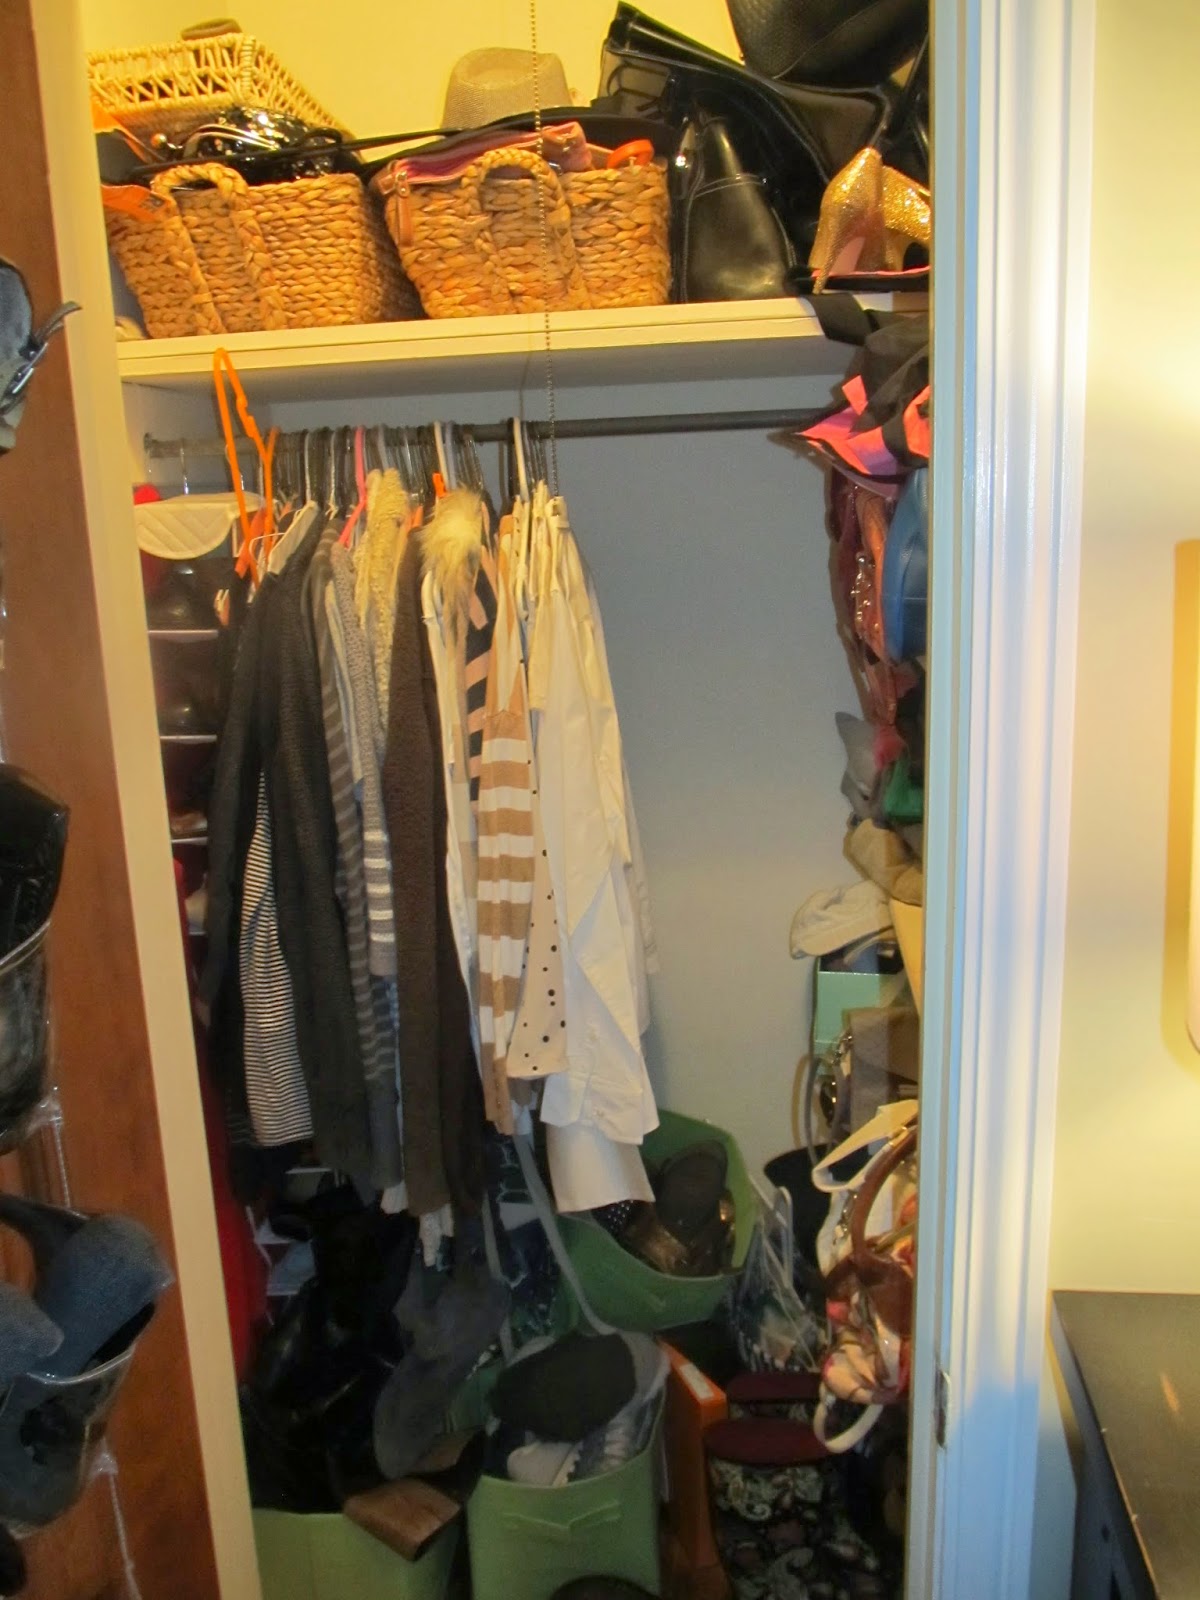
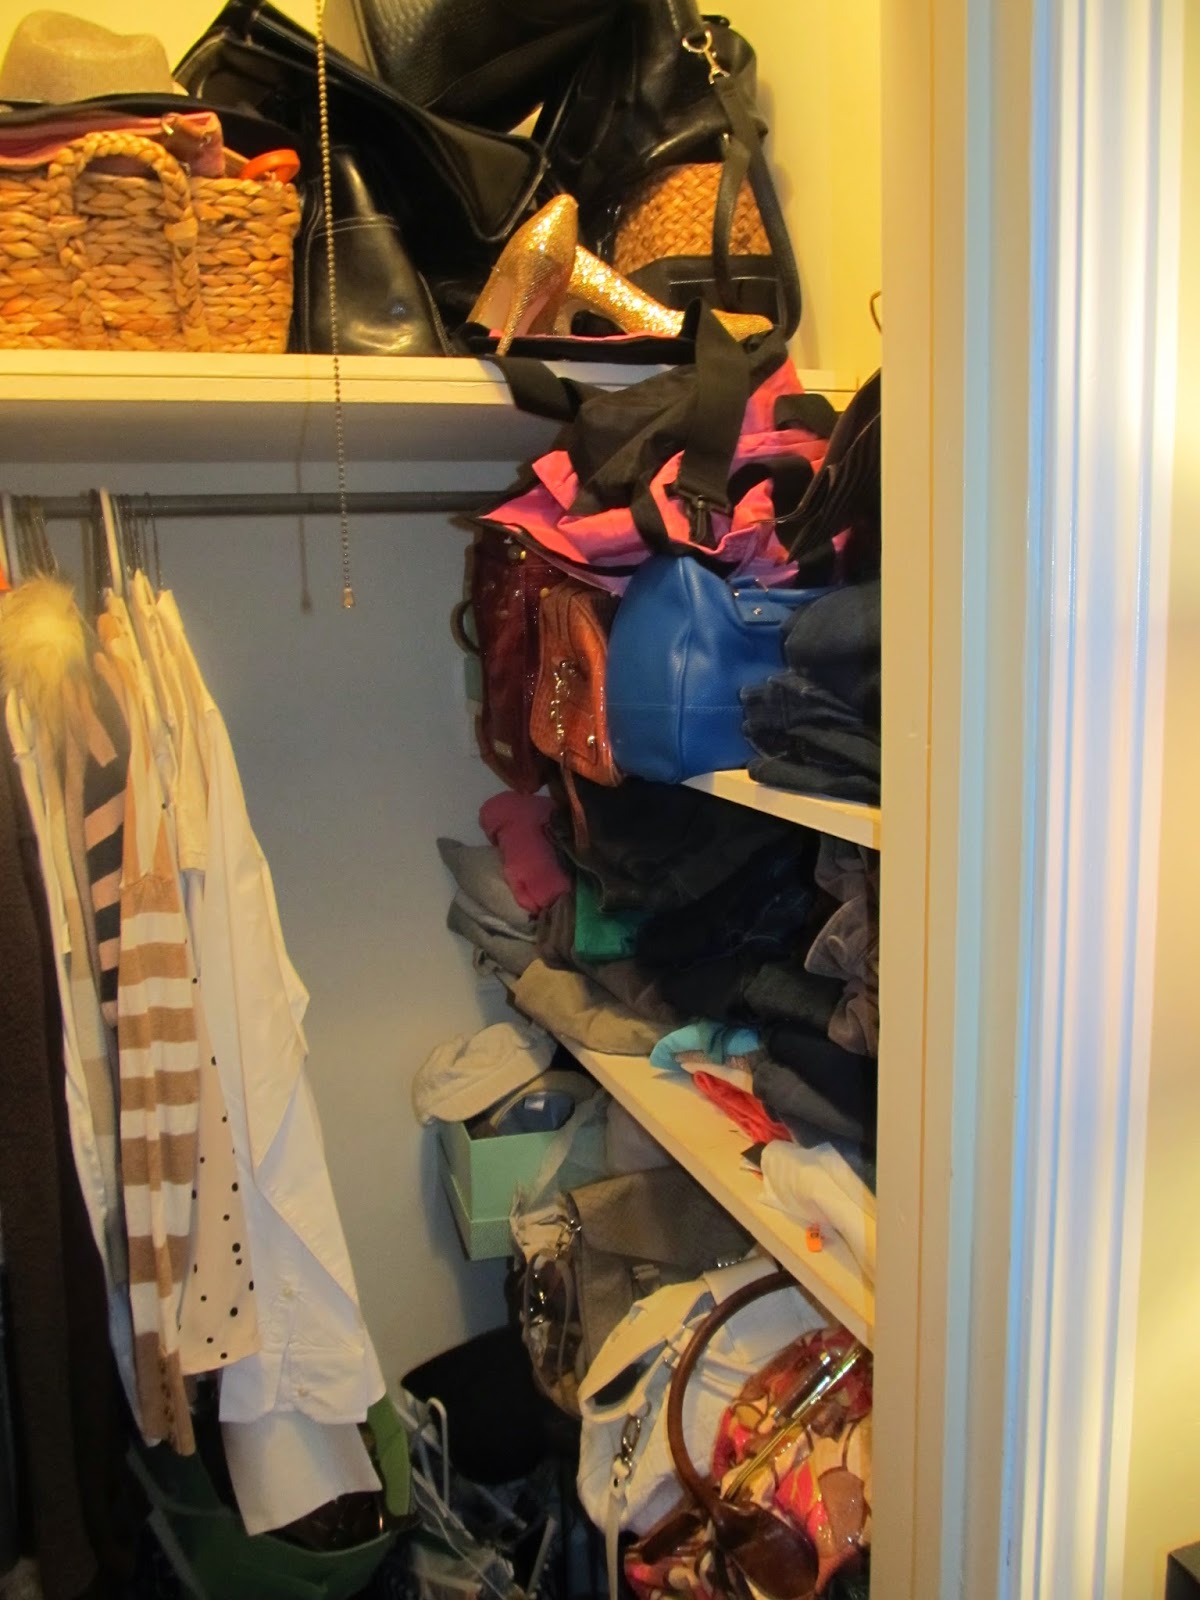
I mean how is a girl supposed to be inspired to look cute if it's all crammed in there like this!? I kid you not I found a box of wallets and clutches when I started emptying this sucker for a makeover. I've searched for them practically since we moved in. They were buried deep. Deep.
The picture above is actually after I cleared some things out as I started the project...

Oh and I should also mention it's after I donated a bunch of stuff when we moved in. I had a little "come one come all" Facebook post that offered extra shoes, bags and accessories to anyone who wanted to come by. I also donated all those clothes I haven't worn in over a year (OK let's say 2 years...one year seems so short). Plus after working from home for the past 3 years I don't need as many work clothes so no need to keep them.
I of course enlisted the help of one Anna M. for this project. It killed two birds with one stone 1) kids could play together (all 5 of them) and 2) we had a fun project to tackle!
Here's a little preview of my bedroom after we emptied the closet out. SCARY! Good thing Daniel wasn't home. This would have sent him over the edge. I can hear it now "Anna Schrall, see this is why you don't need another accessory! Is this going to be cleaned up before tonight? Oh, I gotta go." (or something along those lines)

 |
| sorry about the blur vision! Camera was in overload! |

We realized that we didn't really have anything to hang our shelf so we searched outside. To be sure I had some spare wood from previous projects...oh wait. That would be at our old house. I haven't actually done any woodworking projects here yet. Hmmm...then Anna M had a brilliant idea. We used spare wooden stakes from the yard sale as our shelf ledges. Not pretty but it works! We at least put the pointed edges facing in so you don't see them (you can see them in the top right corner holding the shelf).

The walls are plaster so it was a bit of a mess trying to pre-drill holes and then getting giant screws in the walls. Plus let's face it, the Anna's aren't much on measuring. We are more the "fly by the seat of our pants, eye ball it" kinda gals. Not going to lie...the first rod might have been a little crooked on our first attempt. At one point both of us are trying to stand on one small stool so we could put up the top shelf. If only we had someone to capture the picture!
We tried to use as much of our old materials as possible. We took an extra board from the top shelf and turned it in to a fourth shelf for the side. Here I am using the circular saw to cut the notches to fit around the molding. (Anna M is standing on the board to hold it still...stand back. We're women with power tools and we're not afraid to use them!)

In the end, after I put back all my items and donated this stack...

I heard ANGELS SINGING! No seriously...I open my closet door and hear beautiful organizational angels singing each and every time.
Here's the new and improved version (keep in mind it's small so pictures are hard to come by)...


Here's how we improved it:
- raised the top shelf to better use the height of the closet (used for baskets of small purses and other larger accessories)
- moved back the top clothing rod and added another below it for more hanging ability
- added an extra shelf, again to better use the height
- added a shelf underneath (removable) to hold the green cubes where I store flip flops and sandals, plus it's handy to put additional shoes underneath
- moved the shoe rack to the other side so I can now use the top rack for boots (I put old magazines in them to keep them standing upright and they used to be underneath my bed)
- added hooks to the top left to hold belts and larger hand bags
I'd say not too shabby to have done this in less than 2 hours while watching 5 kids and feeding them lunch!
In case you're wondering, I organize my clothes by style (sweaters, jackets, sleeveless, etc) then by color so it's easy to coordinate outfits. I do my shoes the same way (wedges, boots, flats, etc)
Do you hear the organizational angels singing?
No comments:
Post a Comment