So when we moved in to Schrallville, I really wanted a buffet for our new dining room. Alas, I'm not made of money and couldn't find one I loved for under several G's. That turned my thoughts to storage and I ended up buying this instead. So then that still left me with an empty space. I decided to use my old sofa table turned printer table turned what-the-heck-do-I-do-with-it-now table.
It was not expensive and didn't really hold up well. The finish was chipped all over the top. Not exactly what you call attractive. Daniel asked me to throw it out. I scoffed at the idea. (that's pretty typical of our marriage by the way...I say yes, he says no...I say "sounds fun", he says "absolutely horrible idea"...you get the picture.)
Of course I didn't take a good before picture so let's just pretend you can envision the scratched top. You can at least see the before color of the table here (and after we did a light sand).
I bought a quart of black gloss paint and Anna M and I went to town one night, disguised as a "GNO". I used Sherwin Williams All Surface Enamel in a black gloss. I think they actually carry it already tinted.
Once we painted it, this is the look we had. Pretty but pretty boring. I wanted to add a little element to it that made it less "I just painted this table" and a little more "wow! where did you get this piece?"
In came the stencil. I picked up this stencil at Hobby Lobby with no particular project in mind, more because I liked it
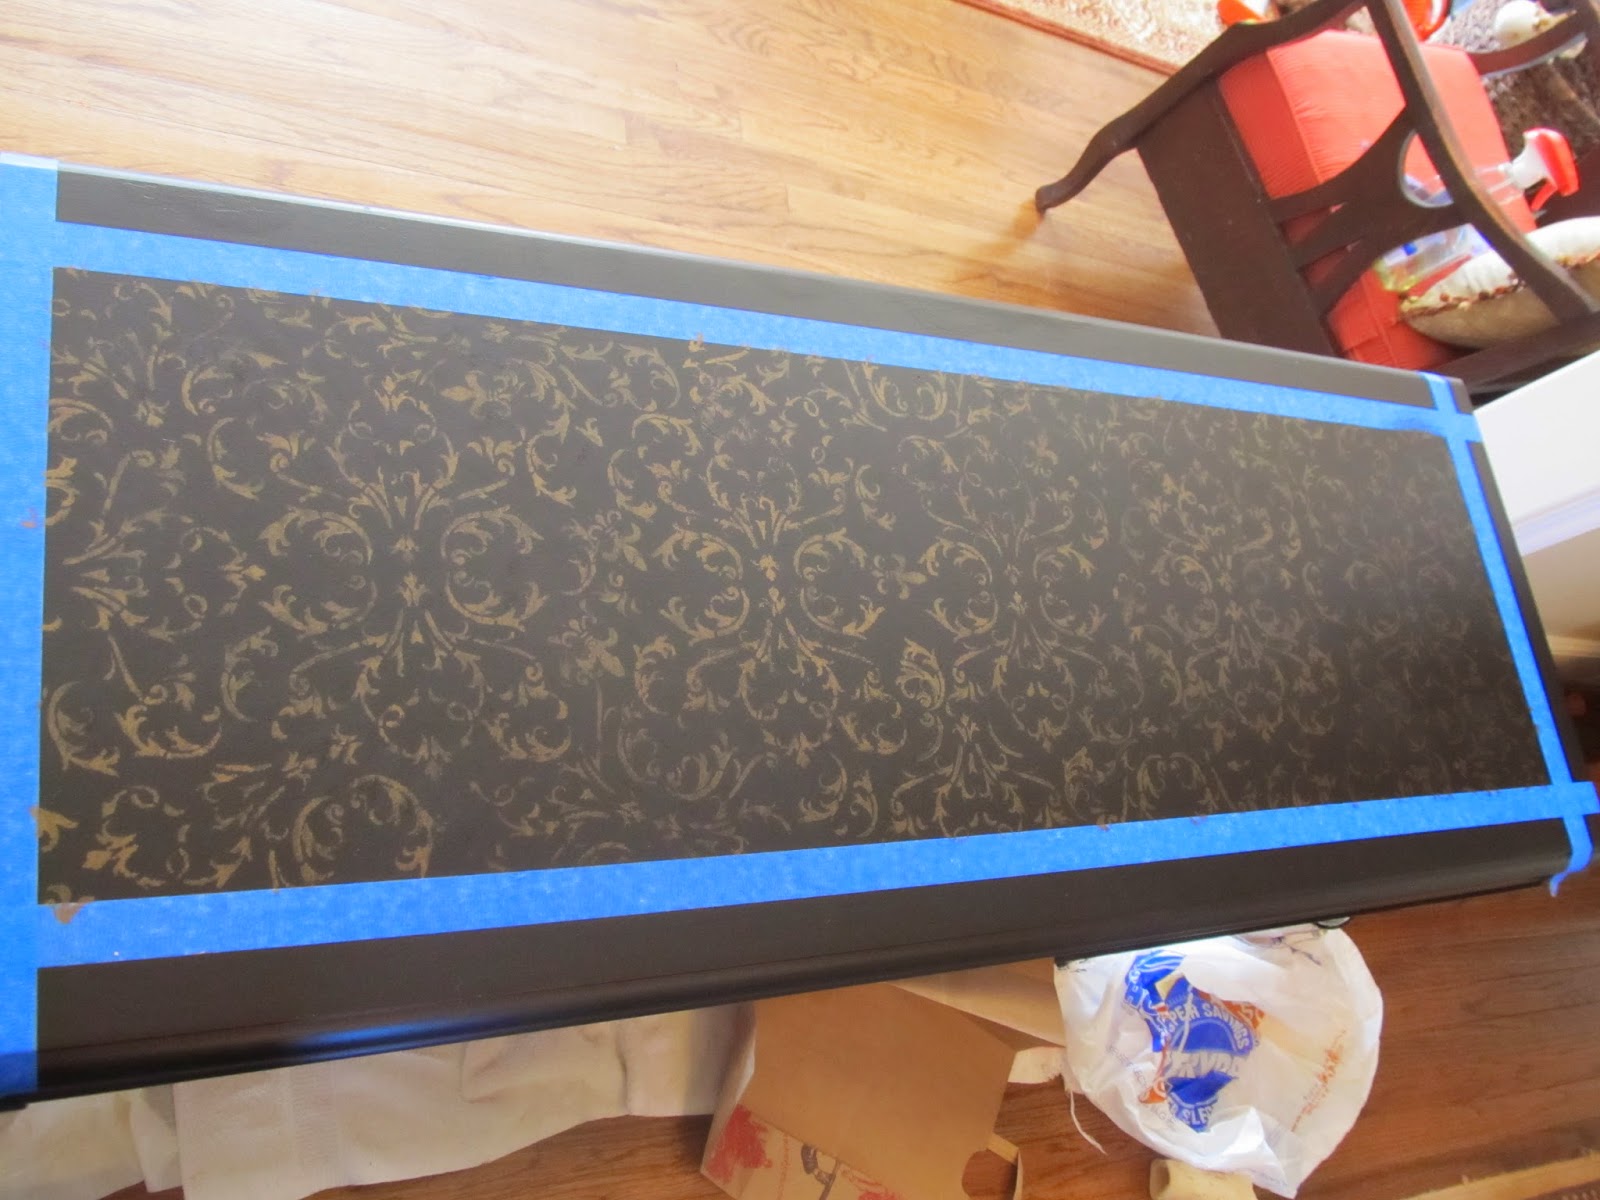
It was too big for the table so we simply picked out a portion of it and marked it off with a sharpie then marked off the portion of the table we wanted to stencil. I wanted a little border around it and not the entire top. No reason, just personal preference.
We used the cheap stencil sponges (seen in the middle of the table above) and bronze craft paint we had left over from another project. Thankfully Anna M and I have similar tastes so we share craft supplies.
It was just a matter of both of us slowly dabbing the paint through the stencil. I wanted a more aged look and not a thick stencil look so we went very light on the paint. Again, this is all personal preference. I have another table where I used a thicker paint approach so it was saturated. Just depends on what you like.
 |
| This is Anna M |
Once we did the main stencil there were still holes in the pattern. We used another small stencil that had a fleur de lis (because I love them) to add a few of those and then just took snippets of the original stencil to fill in blanks. We truly eyeballed it so don't try to be perfect. The fact that it wasn't perfect is what makes it look better.
When we were done it looked like this...
Once it dried I sprayed it with a horribly old can of clear poly. Note to self: check how old the can is before use. I accidentally used an old can that totally left horrible bubbles all over the table. I was not happy. But once it dried you can't tell and all is right in the world again.
Depending on the use of your table, I recommend putting a coat of poly finish to further protect it. We aren't so easy on our furniture so I always put a coat of poly on. You know...for when that stray toy goes flying or it's doused in water because I over watered the plant sitting on top.
Here are a few pictures of it finished and in place...
Not bad for a little paint and some creativity! I'd like to get a large tray for the bottom and turn it in to a bar, complete with spots to hang glasses. But that's a project for another day!


No comments:
Post a Comment