So as the boys have been growing, I was getting sad I hadn't been tracking their height on anything. I love looking at my grandmother's house and seeing the markings of my mom and my uncles as they grew up. But I also wanted something transportable so as I moved, I could take it with us.
And a Growth Chart was born (thanks to some Pinterest ideas).
Now that you've seen the finished product, let's go back to the beginning and show you how it came to it's new look.
I started with basic stain grade 6 ft boards (one for me, one for Anna M...because you know we can't do a project without each other apparently) Albeit more expensive, I chose stain grade because it was better quality. If you plan to paint your board then you can simply get the paint grade but be sure to cover the knots in the wood with shellac so they don't bleed through.
I decided to try pre-stain for the first time to see what I thought. I heard it was supposed to help the stain set in and be more even. All you had to do is wipe in on before staining.
The verdict? Not worth it. I thought it took extra coats of stain compared to no pre-stain. Epic fail.
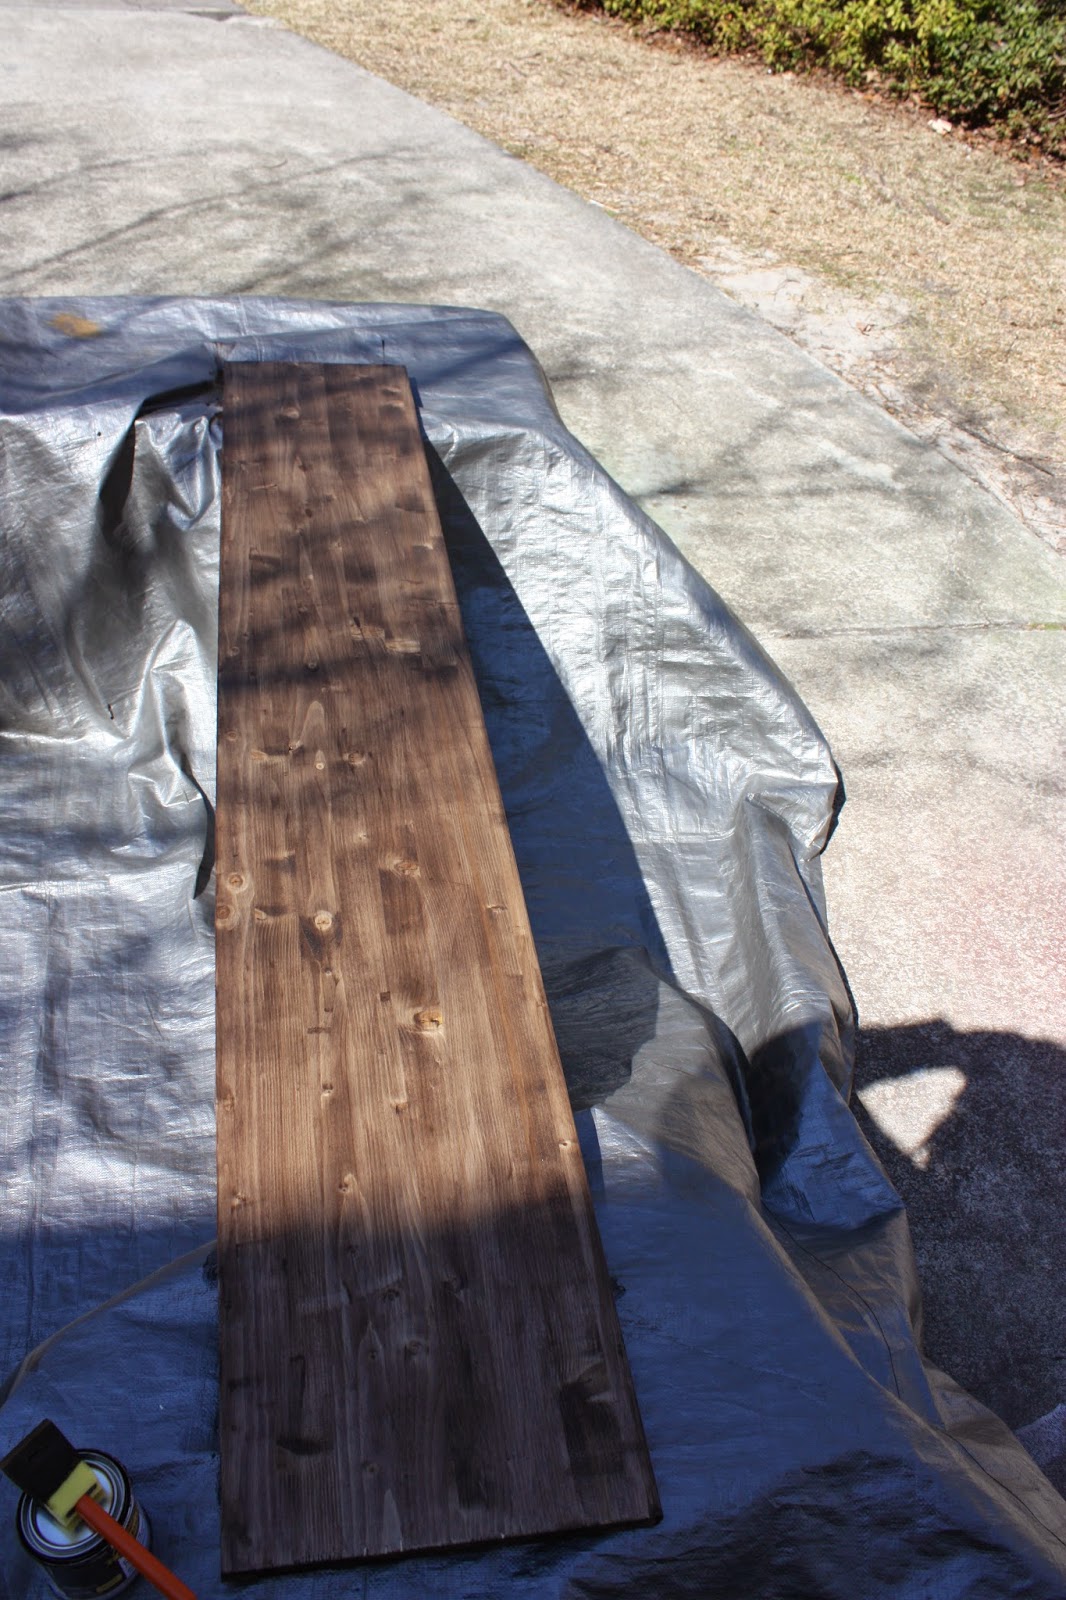
I chose a dark gloss stain for the boards so I wouldn't have to put a shiny coat of shellac or other clear coat on top. I ended up with three coats (thanks to the wood conditioner) and sanded in between each coat.
Can you see the forced smile? I was a little irritated by the pre-stain. I had complete plans to put this together in one weekend and it took me waaaay longer since I had to wait for coats to dry longer. You can see what only one coat looked like here:
And a second coat here.
I wanted a really dark wood color so it was obvious that three coats were required. In between drying time I also had to figure out why I heard no children and only saw this:
There are children supposed to be in this picture. Four boys to be exact. It's like a "Where's Waldo" gone bad.
Low and behold...this is what we found.
So a slight delay here and there for clean-up on aisle six...err should I say aisle four for four little boys...and for snacks.
I have no idea what Christopher M. is doing in this picture. Some sort of toddler gang sign?
Once the board was stained, it was as simple as putting on the decals I ordered from Etsy. I believe my numbers are from this shop and then I ordered the name part from a different shop. Just search "ruler growth chart decal" in Etsy and all kinds of options pop up. I chose to put our last name and then est. 2006 (for when we got married and established our family) but there are all kinds of options.
One important tip - be sure to measure your baseboards before you place the decals. I of course eye-balled it and was an inch off.
Then the fun part begins! I chose to use a different color per person (except grandparents, they are all the same color). I also went back and added their birth height, 4 mos, 6 mos, 9 mos, 1 year to the board. I kept them in their baby books so it wasn't hard to find but if you haven't, just ask your pediatrician. They have a full record of it.
I'm excited that we can keep this for years (and generations) to come. How fun will it be to record my grand kids one day?!
If you have a growth chart, share! I'm sure we'd all like to see different versions.


No comments:
Post a Comment