Showing posts with label paint. Show all posts

Friday, September 6, 2019

Resting peacefully at Blossom

As I revealed earlier this week, the bathrooms at Blossom St. were a complete gut job. But they were a fun one. There's nothing more satisfying than ripping out old, worn out bathroom fixtures and seeing them back together in a classic, clean way. 

So today let's take a look at the bedrooms. Some say there are three. Some say there are 4. It really depends on if you count what I call "the nook" a bedroom or not. 

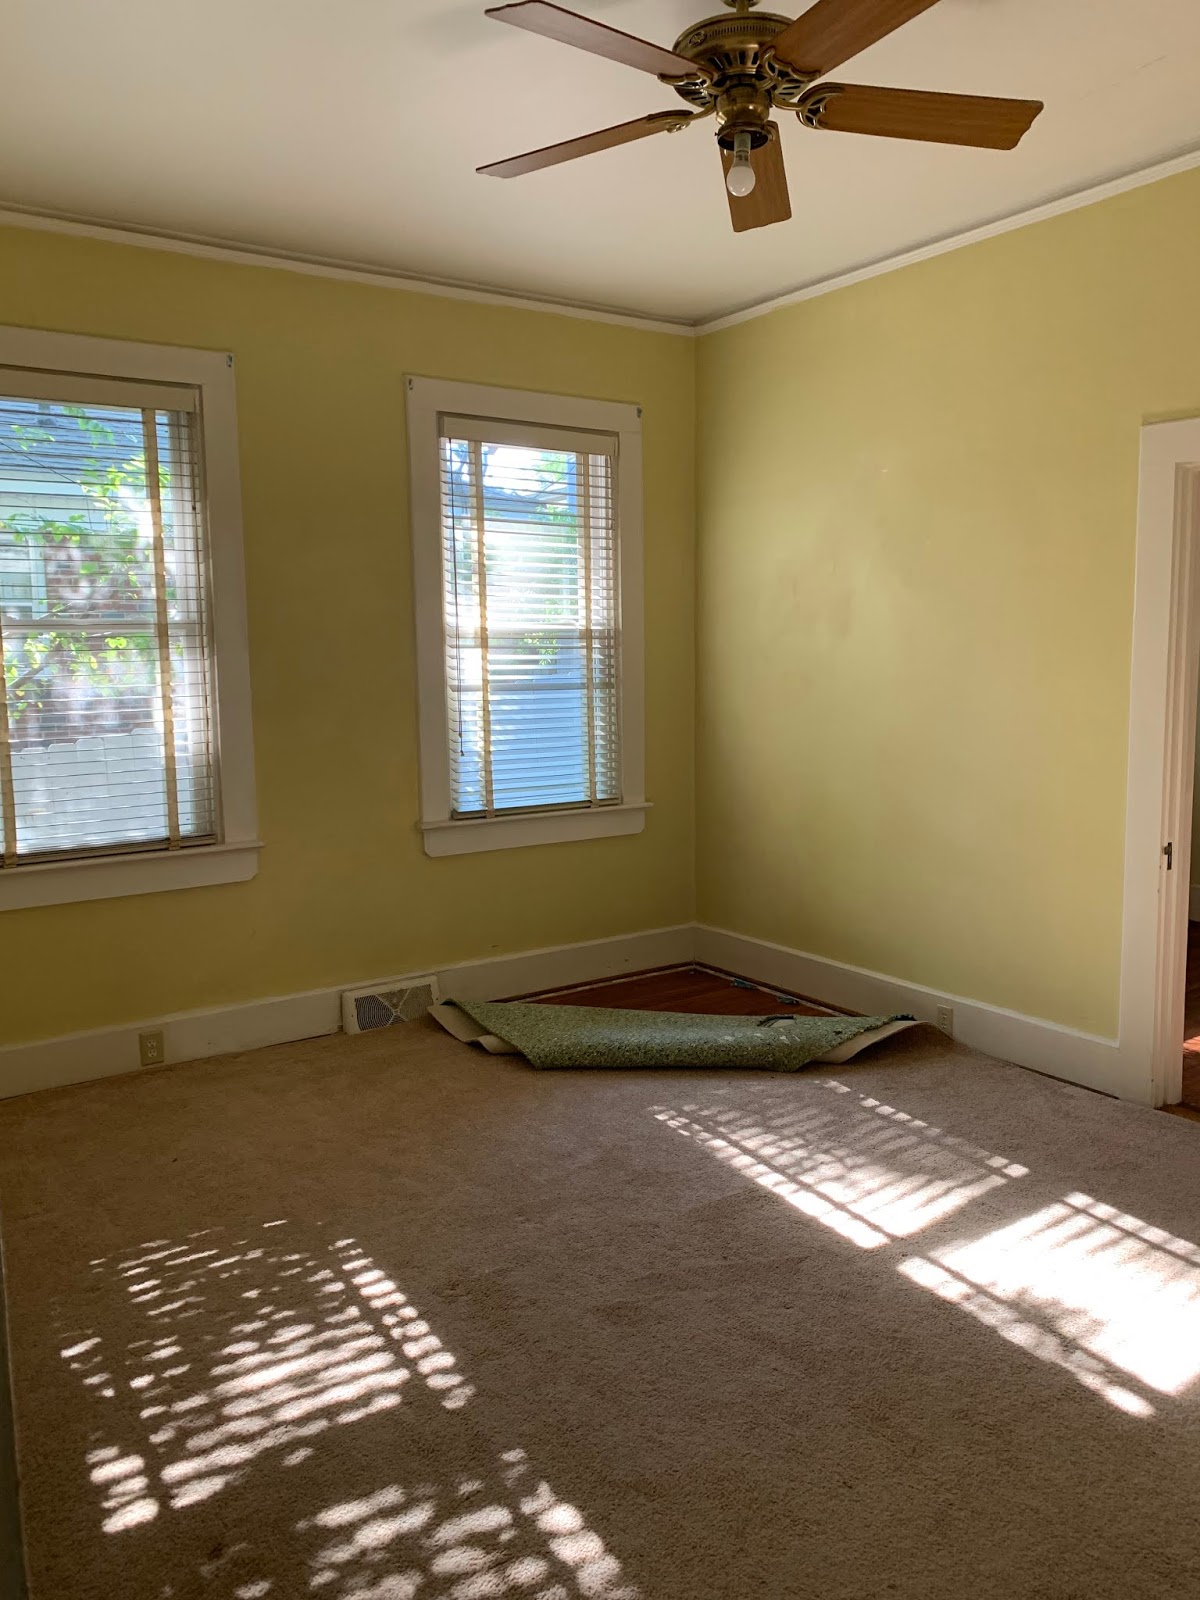
For the most part, the bedrooms were cosmetic updates. Ripping out old carpet, ceiling fans, door knobs, new paint...that sort of thing. The back den turned bedroom was the most transformed in that it not only needed the cosmetic work but it also needed a ceiling scrape to get rid of the popcorn and it needed new flooring. Here's what it looked like originally...


One word. Dark. This type of room is very typical in this style and type of house. In so many older homes they have a paneled den. Now if you have the money, you can take out the paneling and put in dry wall. In this case, and even in our house, we opted to paint over it instead. 

And let's not forget this room had lovely boob lights. <insert groaning>


And now, this room feels light and airy with plenty of room!
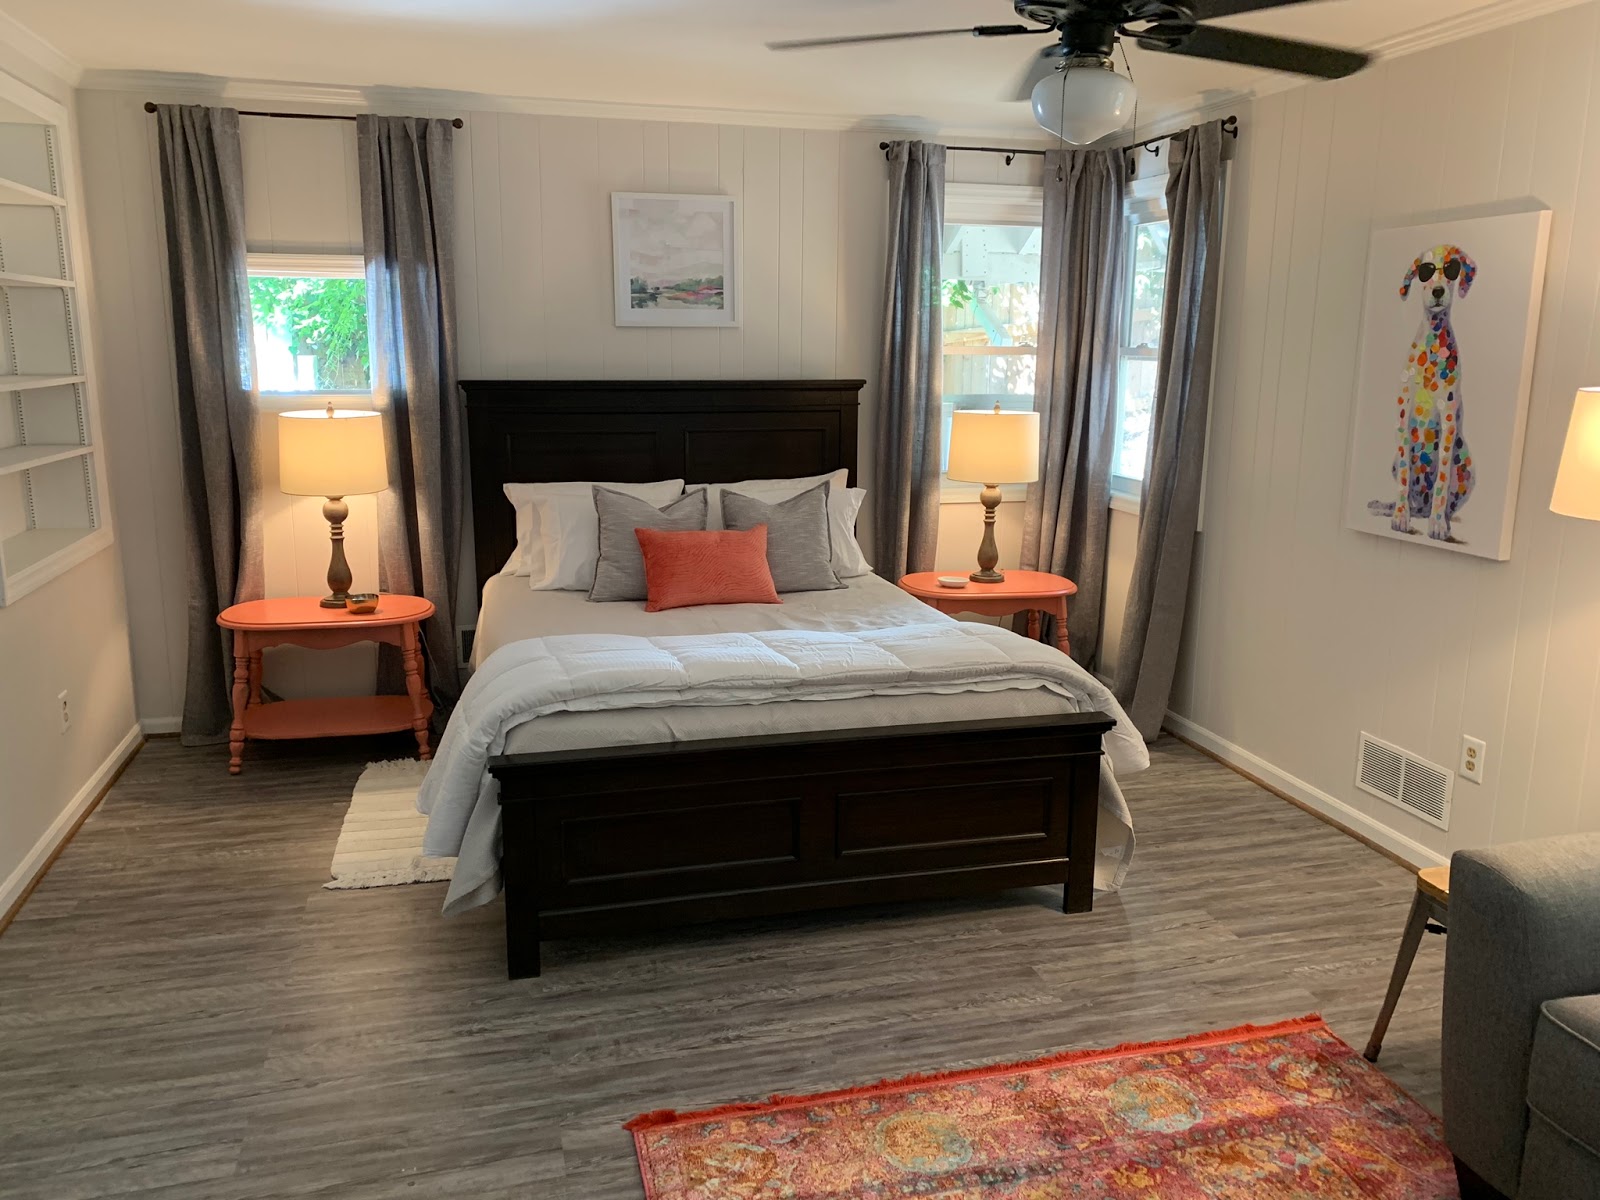


The love seat pictured above pulls out to a single bed. This room is PERFECT for a family with a child or even three friends. It houses a queen bed plus the pull out sofa. Not to mention it has large closets for plenty of storage. Did you notice the coral side tables? Those are your traditional 80's round side tables that usually are in a pecan wood color. A quick spray paint and they add the right pop of color by the bed. And they were less than $40 each. 

You'll start to notice a theme in the bedrooms...see if you can find it as we go along. 

On to the next bedroom, which houses the only king size bed and also the only fireplace. I'm assuming this was once the master bedroom as it also has a door leading to the bathroom. 

Before, it was not bad, just not great colors. This was really a good example of how basic cosmetic changes can make a big difference. 


And now, it has so much more character and a light, happy feeling. 


I really want to wake up in that bed. 

So have you seen a theme yet? I mean aside from the fact I used the same paint colors (SW Elder White on the walls and SW Repose Gray on the ceilings). 

Here's a hint.


All the rooms in the house will have a cute and colorful dog print. This Airbnb is dog friendly so when I found these prints at multiple stores (Tuesday Morning & Home Goods), I thought it would add a fun whimsy to the house but also give it more color. This one is my absolute fave. 

The last bedroom or two bedrooms, depending on how you look at it, is the most traditional. One had carpet with lovely hardwoods underneath and then the nook was just plain jane. 


You can see the nook that's sandwiched between the bedroom and the small bathroom. 


The nook was literally a blank slate. 


And now, this room(s) seems to be getting the best feedback! I think it's the art and rug combo. Despite not being sure if this would all come together, they all play together really well. If only my boys would do the same some days. 


The nook is now a cute little room with a single bed. I always wonder what these rooms were used for originally. A sewing room? A nursery? An office? 


The interesting part about both of these rooms is that aside from the queen bed, the rest of the furniture is all second hand from Facebook and consignment. Really! It just goes to show that you don't have to go new to be cute. 

So there you have the bedrooms. I shopped for all of these with a few things in mind...

1. Bright rugs with neutral walls
2. Every room has white and gray bedding
3. Dog prints and bright artwork to keep it happy
4. Make them peaceful. 

It's always iffy when you buy the furniture months in advance and aren't 100% sure it will fit in the room or even really coordinate. Then when it finally all comes together, it's so rewarding! 

So which is your favorite room? 

Thursday, August 25, 2016

From Chewed to New

It's no secret that our house is a little chaotic farm-like...but located in the city. We've adopted a new kitten or rather he adopted us by climbing under my car and taking a ride with us around town. Ryder he is aptly named.

Then we also have 3 dogs...all rescues and 2 of 3 are barely over a year old. Yes, our house is at times a circus when you also throw in an almost 5 and an almost 6 boy.

One said dog who shall remain nameless but not blameless (hint: he's black, steals anything and everything to chew up and is a furry mess) decided that our coffee table would be a good chew toy.

Enter evidence:


Not to mention the table was already a little scratched from years of wear around toddlers. But I just couldn't trash it. I loved the style, loved the size and it was still very sturdy. So off to work I went.

First I used a jigsaw to cut off the chewed corners. I essentially angled all four legs (2 were chewed) that used to be round to be more diagonal.


Cole then helped me sand them down to be a tiny but smoother on the edges.


Then it sat in my living room just like that...for months. Note the winter clothes above. We're now at the end of summer and I just finished the table. Yep, it sat cut up for many, many...many months.

Finally last weekend, as I sat on the couch completely exhausted from starting Kindergarten - I decided to get off my bum. And yes, I totally struggled with the new schedule. I mean that one extra hour earlier near about killed me. Needing to be out the door at 7:10 to walk to school? Murder. I'm pretty sure I struggled the most out of all of us.

Anyway, I digress.

I pulled out my Annie Sloan chalk paint that I've had for awhile. Sadly it had settled so I had to really stir and shake...stir and shake...until it was revived. I used Country Grey since it's what I already had on hand.


I did not sand it but I did wipe the top down with Windex to remove any oily residue...just in case. Here it is with two coats of paint:


While cute, it's sort've boring. So I set off aging it. I used a sandpaper block and went around all the edges and corners playing around with what I liked and where it might age naturally.


I of course forgot to take a good picture of the waxing process so we won't consider this a true tutorial. However, I put 1 coat of clear wax and then one coat of dark wax to darken the color a bit, using cheese cloth to do it. You only need a thin coat. It's sort of like rubbing in lotion in a way.


I'm so happy with the finished product! You can't even tell that they legs were chewed anymore unless you really inspect it. The aging process really helps to deflect and now it just looks like a cool distressed table.


I think I may apply the same concept to the back corner cabinet at some point when I feel motivated...in about 8 months.

Pretty cool, huh? Didn't cost me a dime and I just repurposed what I already had. Oh and for those of you curious, it took me just a few hours (due to a little drying time) then I let the wax set overnight.

Friday, April 8, 2016

Creating a thrifter

I went MIA and then posted about starting Whole30 only to learn that I was pregnant 10 days later. I'll fast forward and basically say, it's been a rough few months and blogging was not on my mind. After another miscarriage, I've spent some time recovering, both physically and mentally. 

What do I do when I'm feeling down? I sometimes do a house project. This time, I chose to take Charlie along since he wanted to go by Brueggars first. So a plain bagel and chocolate milk in hand, we went to a few places looking for a drop leaf table. 

It was going in this corner - 


The table we were using is too small and dinky for the corner. It just looked odd.  So off we went. 

Here's about how it went...we stopped by the first store and Charlie says "where are we!?" I explained and we went in and breezed through. He wasn't impressed (and neither was I). 

So we head up the road to a new consignment store and Charlie says "mom!? another one? You seriously have a problem!" 

Yes, yes I do, son. 

When we got inside he said "mom, this is like someone's house!" I told him that just like he likes to go to Target to look at toys, mommy likes to go to stores like this. It's my version of a toy store. He totally got it. In fact, he got it so much that he wanted to buy some things! 

I found exactly what I was looking for and it was only $85! For those with great eyes for restoration, it just needed a little love. For those who do not have that same eye (uh hmm, Daniel), it belonged in the junk pile. I believe his words were "what is that ugly scratched up table doing in the driveway?" 


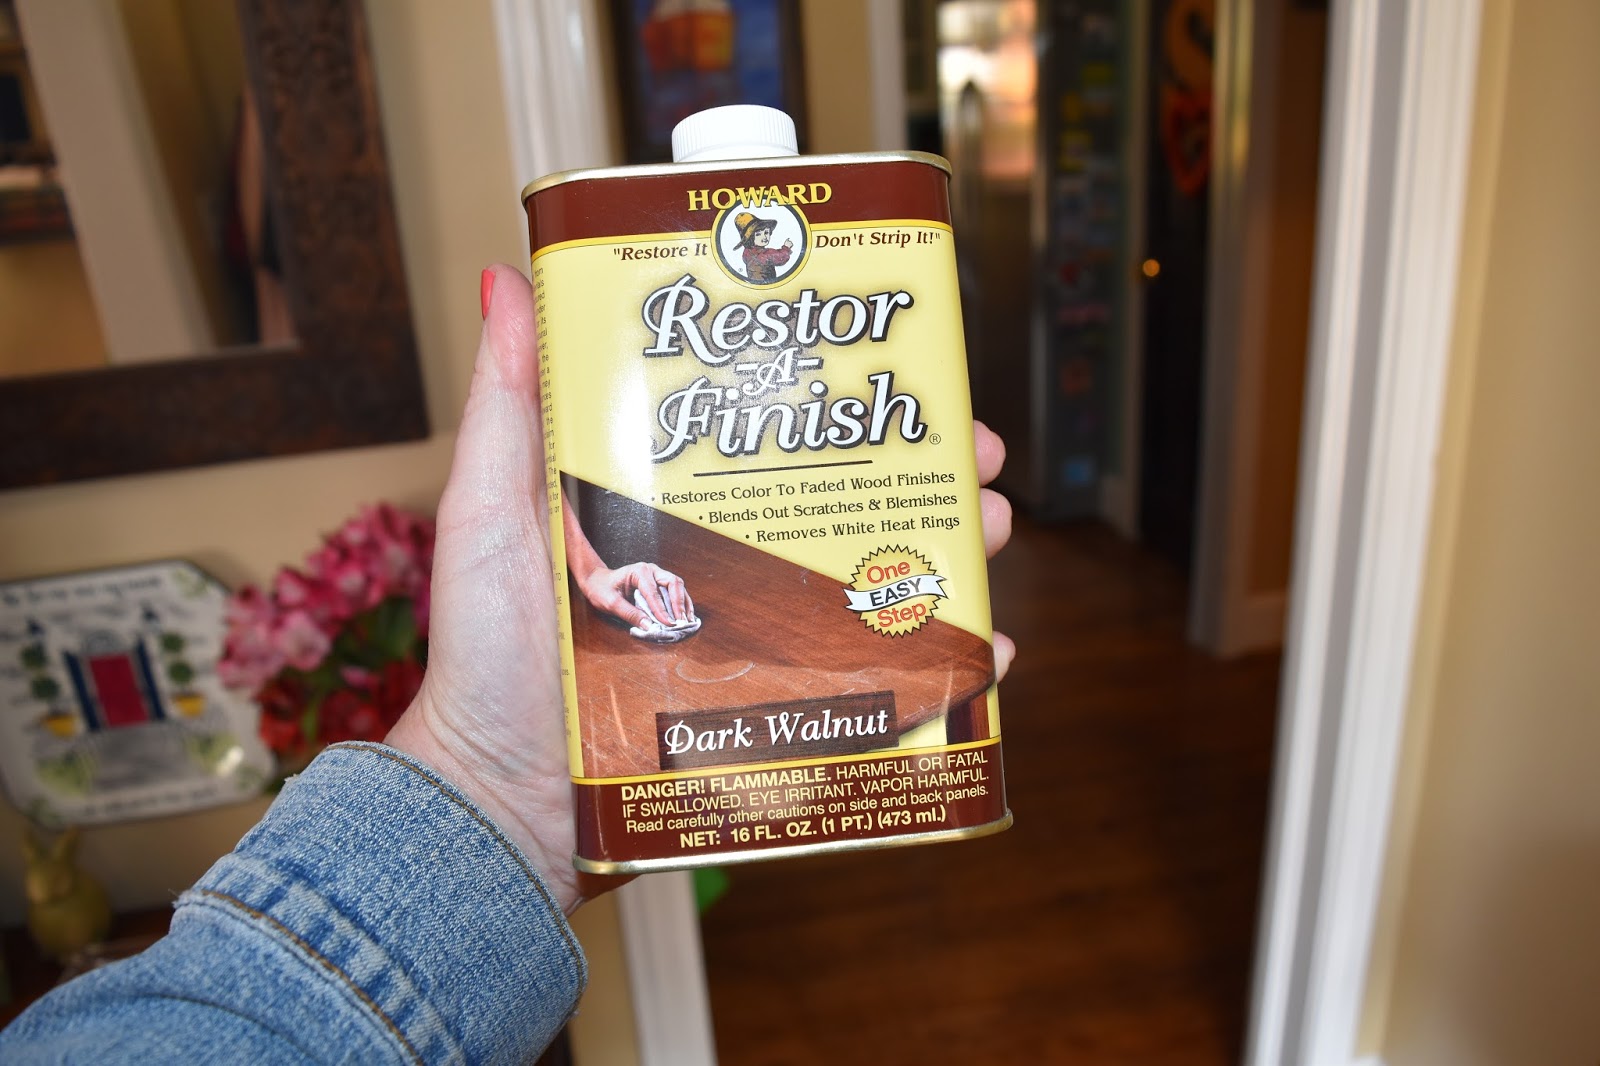
 Nothing a little wiping down with my new favorite wood product couldn't fix! 


It's really this simple...take a piece of cheese cloth or other soft rag and wipe it down then let dry. I also wiped it down again with a dry cloth to get any excess off. 

Look at how easy it went on and how one swipe made magic. (left side was done)


So after a quick coat the table was completely restored to a pretty shiny finish and the scratches were wiped out. 


I think it took me a whopping 10 minutes! And look how much better the table looks. No more scratches!  The corner looks so much better now with a larger table. 


I of course have already changed the chair for another one but that's for another update. 

Just remember - you can find such great pieces of furniture at thrift and consignment stores! They tend to be pieces with more character and only need a little love to make them perfect for your space. 

Now go find yourself a fixer upper! 

Tuesday, February 3, 2015

Once you go black, you'll never go white.


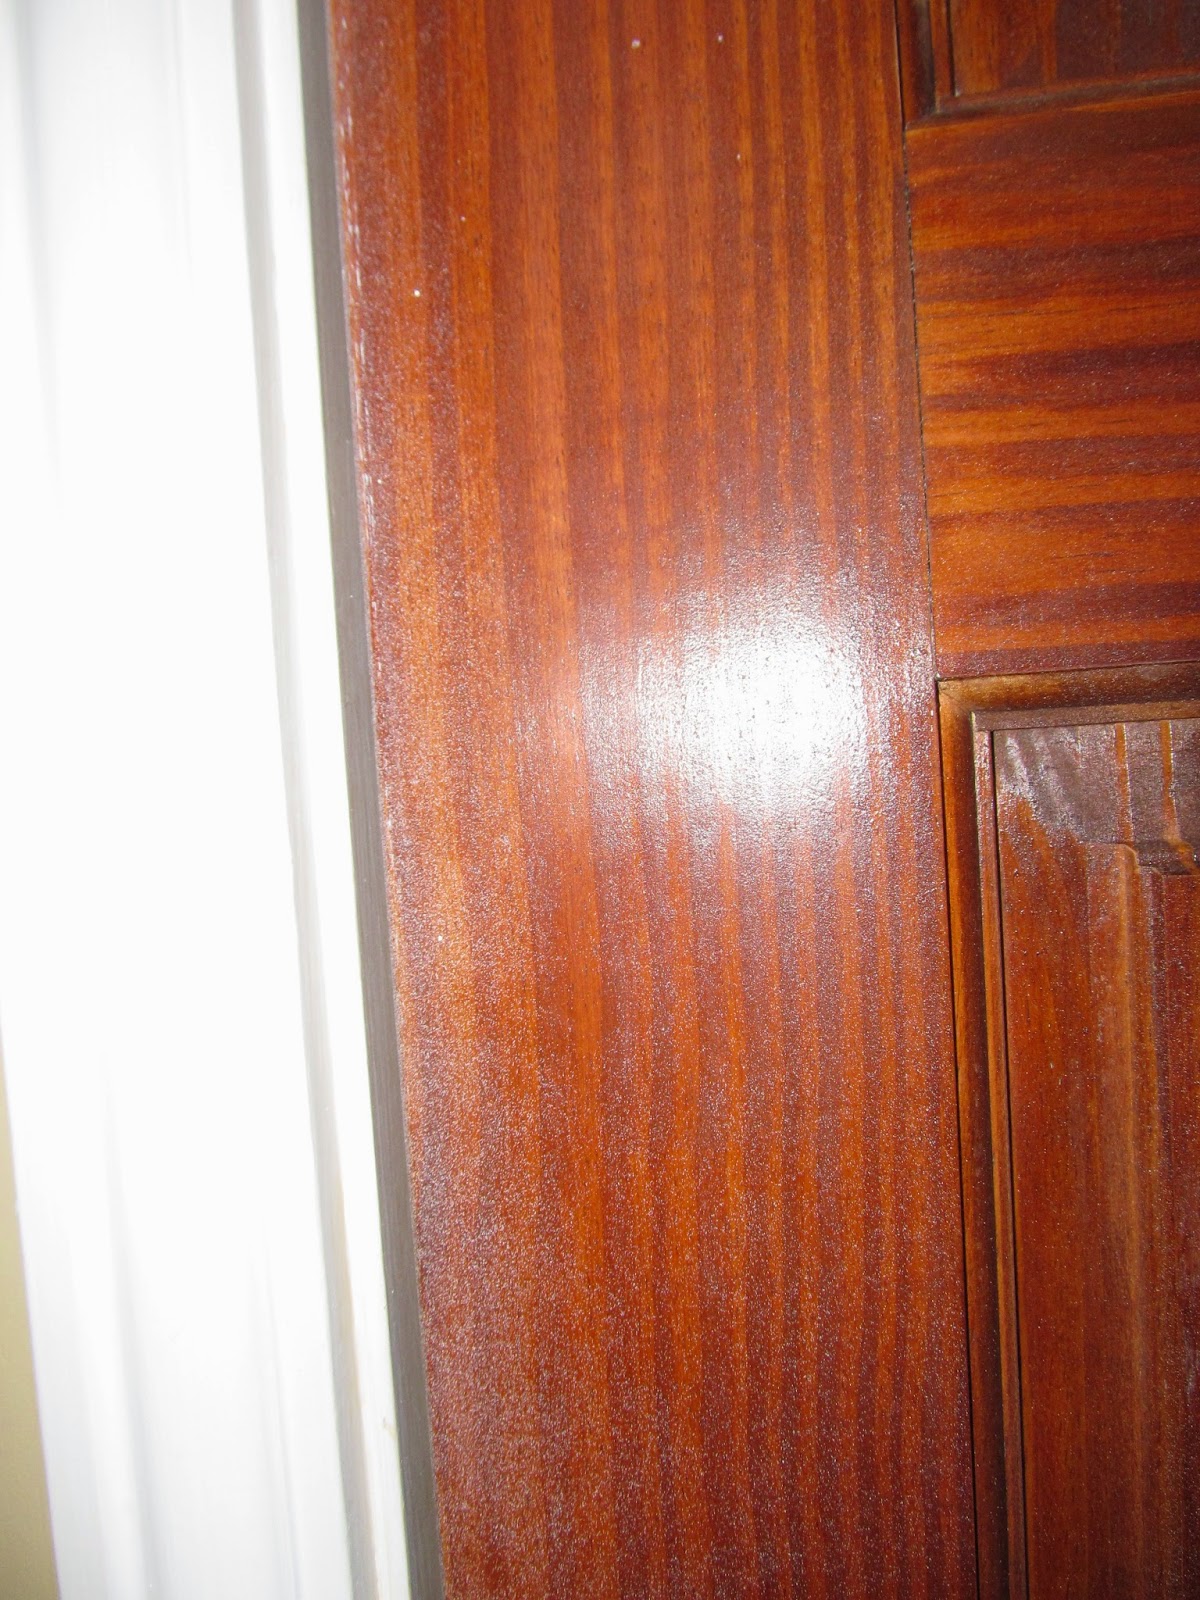
When we moved in we changed the color of the floors. We went from a red stain that was popular back in the 1950's (when the house was built) to a browner color (specifically Provincial). What we didn't change were the doors, which were all still stained to match the original red floors. It didn't bother me too bad but I knew they needed to be done and I needed a project that was simple but made an impact. I needed a pick-me-up. 


You can see in those pictures that the floor is more brown than the red doors. Another problem was the condition they were in. When the reno was being done, not a lot of precautions were taken to protect the doors. Not a big deal since I knew I didn't want them to remain that shade. But you can see all the paint drips and over spray on them below. 


So then the big decision had to be made...1) take them down, sand them (including all those panels) and stain them in Provincial or 2) paint them. 

Hmmm...let me think for point two five seconds. Painting it is! Let's face it. I love a good project but I'm not one to have patience to sand and stain 11 doors. I mean I might as well just move out at that point. So then the next decision had to be made - what color? 

Now let's briefly talk about door colors. The one we're all familiar with is white. Everyone tends to default to the good 'ol white. It's like that old sweatshirt that you automatically go to when you're cold. But I knew I wanted to step out of the box. A color would have been too much in our house. Since the house is more traditional in nature, a funky color might have been too much. I recently went in to a house that had the most gorgeous gray walls and the doors were a shade or two darker. SO pretty!  But that house was newer and more contemporary. 

I went with a classic color: black. Glossy, shiny black. When I painted the first door, the one into the office/man room, Daniel said it looked like a black coffin door. 

Thanks for the support, honey. 

(he later got on board)


I took a few weeks to get them done because I needed one side to dry before tackling the next side. I used a glossy black from Sherwin Williams (already mixed) and in an oil base because I wasn't willing to denature all the doors and hope latex stuck Plus let's face it oil-based paint holds up better. 

When I paint with oil I go ahead and budget for multiple paint brushes because I just toss them at the end. I never have luck cleaning them so that they brushes are usable again. Plus I wear latex gloves so my hands don't get covered. And maybe because things like this happen courtesy of the kiddos. 


Yes, that's the paint brush they tossed in to the ENTIRE CAN of paint. That took me a bit to clean up. Shockingly, other than a few hand prints here and there, they managed to stay out of the wet paint on the doors and none was spilled and no major catastrophes occurred. 

In the end, I can't even imagine them any other color. I love them. And the paint high is over and I still love them. Here are some before and afters you can oooh and ahhh over. 

Kitchen pantry:


Hallway: 


Bedroom doors:


I also painted all the doors in our bedroom and the guest bath black. I hesitated and thought I might paint the bathroom doors (the side that faces inside the bathroom) white but when I was in the process, I just went for it and I'm glad I did. I thought it might clash but it looks great. I really didn't realize how bad they looked until they look so fresh now. 

I still need to spray paint the door knobs. They are currently a mixture of shiny gold and a muted gold. They work great so I'll just spray paint a hammered wrought iron color instead of paying for all new knobs. 


I really did have to refrain myself at one point. I wanted to start painting everything black. I stopped at the front door...tempted but unsure. Thoughts? Any suggestions? I can't paint the trim around the window portion of the door so that remains white...which throws me. The outside is yellow. 

Suggestions. Go.